Getting Started with Vouch
Install the CLI, enroll a YubiKey, and start your first session
Vouch replaces static developer secrets (SSH keys, AWS access keys, GitHub PATs) with short-lived credentials derived from a FIDO2/WebAuthn (opens in new tab) hardware key assertion. This guide walks you through installing the CLI, enrolling your YubiKey, and performing your first login.
Prerequisites
- A YubiKey 5 series (or any compatible FIDO2 security key)
- A Vouch server instance, such as https://us.vouch.sh
Organization ownership: The first person to log into Vouch from a Google Workspace domain automatically becomes the organization owner. The owner can configure integrations, manage team members, and connect services like GitHub and AWS for the rest of the team.
Step 1 – Install the CLI
Install with Homebrew:
brew install vouch-sh/tap/vouch
After installing, start the Vouch background service:
brew services start vouch
# Import GPG key
curl -fsSL https://packages.vouch.sh/gpg/vouch.asc \
  | gpg --dearmor \
  | sudo tee /usr/share/keyrings/vouch-archive-keyring.gpg > /dev/null

# Add repository
echo "deb [arch=$(dpkg --print-architecture) signed-by=/usr/share/keyrings/vouch-archive-keyring.gpg] https://packages.vouch.sh/apt stable main" \
  | sudo tee /etc/apt/sources.list.d/vouch.list > /dev/null

# Install
sudo apt-get update && sudo apt-get install -y vouch
sudo tee /etc/yum.repos.d/vouch.repo << 'EOF'
[vouch]
name=Vouch
baseurl=https://packages.vouch.sh/rpm/$basearch/
gpgcheck=1
gpgkey=https://packages.vouch.sh/gpg/vouch.asc
enabled=1
EOF

sudo dnf install -y vouch
Install with winget (opens in new tab):
winget install SmokeTurner.Vouch
Note: Windows support is limited. The SSH agent and SSH integration are not available on Windows. Only basic authentication and credential exchange commands are supported:
enroll,login,credential aws, andcredential github.
Verify the installation
After installing, confirm the CLI is available:
vouch --version
Step 2 – Enroll your YubiKey
Enrollment registers your YubiKey with the Vouch server and links it to your identity. You only need to do this once per key.
vouch enroll --server https://us.vouch.sh
This command will:
- Display a URL and a one-time code in your terminal (using the RFC 8628 Device Authorization Grant (opens in new tab) flow).
- Open the URL in your browser (or you can navigate to it manually) and enter the one-time code.
- Ask you to verify your identity through your organization’s SSO provider.
- Prompt you to register your YubiKey as a FIDO2 credential.
- Set a PIN on the YubiKey if one has not been configured already.
- Save the server configuration locally so future commands know where to authenticate.
If your account already has a registered key — for example, you are enrolling a backup YubiKey — the browser flow asks you to verify with the existing key before the new one is registered.
Once enrollment completes, the CLI prints a confirmation and you are ready to log in.
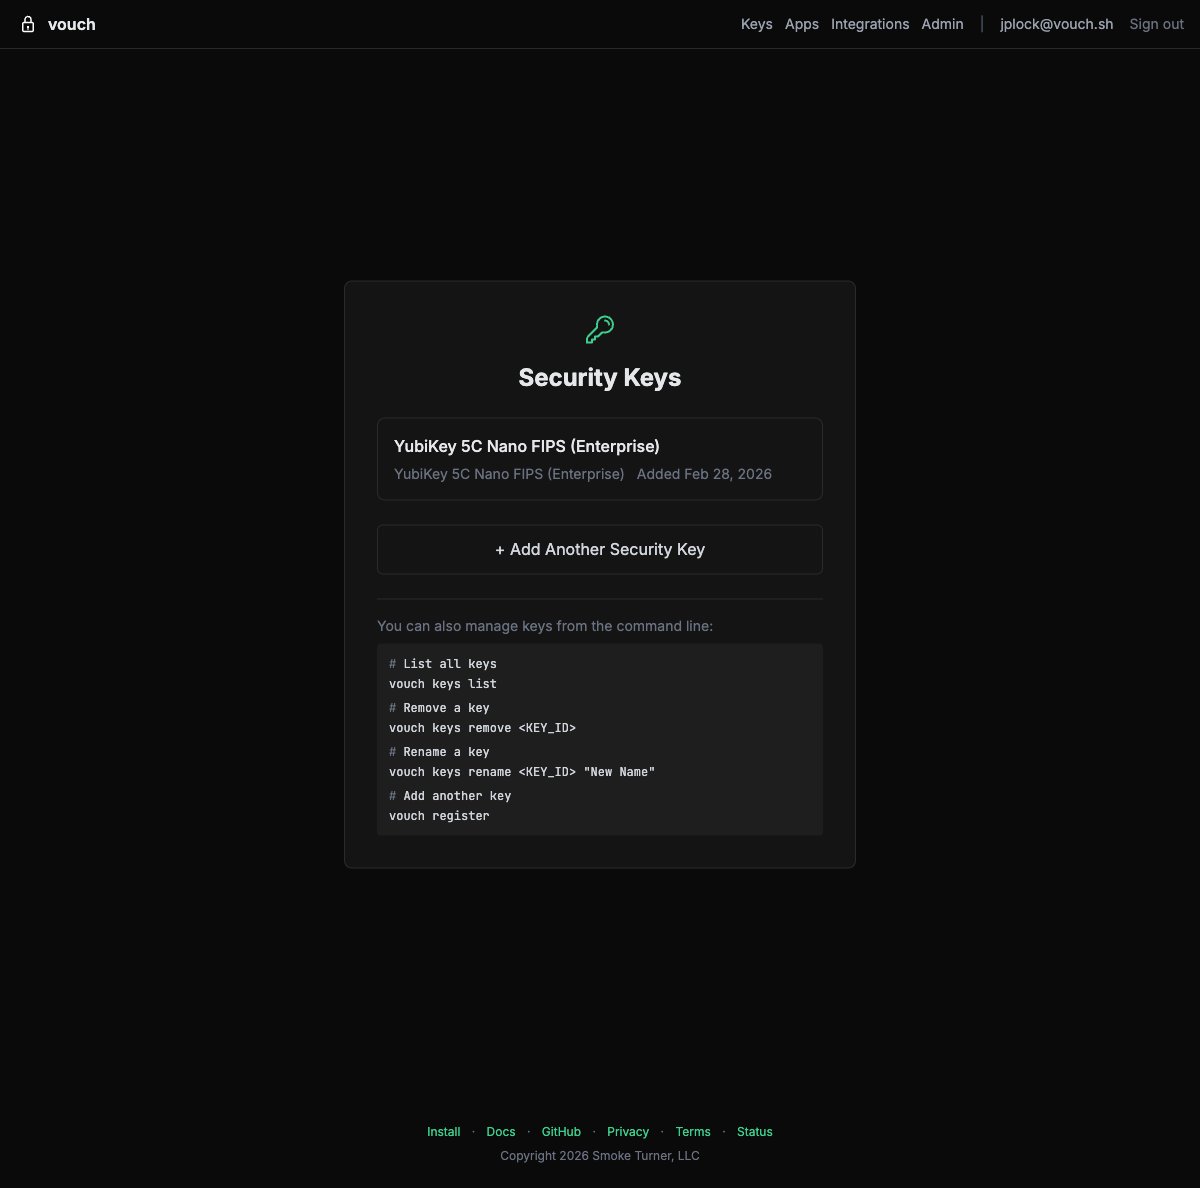
You can manage your enrolled security keys at any time from the Vouch dashboard:
You are done with enrollment when...
vouch enrollfinishes without errors.- Your YubiKey appears on the dashboard security keys page.
- Future
vouchcommands remember the server URL without another--serverflag.
Step 3 – Daily login
Each workday begins with a single vouch login. This authenticates you with your YubiKey and provisions short-lived credentials that last for 8 hours.
vouch login
Enter PIN: ****
Touch your YubiKey...
Authenticated for 8 hours
That is it. After login, every integration – SSH, AWS, Git – uses the session credentials automatically. When the 8-hour window expires, run vouch login again.
You are done with login when...
- The command reports that you are authenticated.
vouch statusshows an active session and the remaining session time.- You do not need to touch the YubiKey again until the session expires or policy requires it.
Step 4 – Use your first credential
With an active session, your tools work without extra wrappers. Try the integration your administrator has already configured:
# SSH authenticates with your Vouch certificate
ssh user@server

# AWS credentials are available through the configured profile
aws sts get-caller-identity --profile vouch

# Git prompts Vouch's credential helper when needed
git ls-remote https://github.com/example/private-repo.git
Vouch provides credentials on demand to each tool through the integrations configured by your organization.
What the session enables
One vouch login session provides credentials to each configured integration:
| Command | Service |
|---|---|
ssh | Servers (certificate auth) |
git push | GitHub |
aws s3 ls | AWS CLI |
cdk deploy | Infrastructure as Code |
terraform apply | Infrastructure as Code |
docker push | ECR / GHCR |
helm push | OCI Charts |
kubectl | EKS |
These tools read your AWS config, SSH config, Git credential helper, or Docker config – no additional wrapper commands are needed after setup.
You are done with first use when...
- At least one tool successfully uses credentials from the active Vouch session.
- AWS commands show your assumed role, SSH accepts your Vouch certificate, or Git uses the Vouch credential helper.
- No long-lived AWS keys, SSH private keys, GitHub PATs, or registry passwords were created for the test.
Step 5 – Choose your next integration
Before a tool can use Vouch, your organization needs to configure the matching integration. Choose the guide that matches the credential you want to replace next.
Cloud and infrastructure
Start here for AWS, servers, Kubernetes, databases, and infrastructure tooling.
Code and packages
Use Vouch for source control, containers, package repositories, and AWS developer services.
GitHub · Docker · CodeArtifact · CodeCommit · Cargo
Organization rollout
Roll Vouch out to your team, onboard users, and connect identity lifecycle controls.
Team rollout · Startup setup · Admin dashboard · SCIM · Migration
Security review
Evaluate the architecture, credential lifecycle, threat model, and failure modes.
Step 6 – Onboard your team
Once Vouch works for you, onboarding the team requires no admin action. Each person installs the CLI and enrolls with the same server. Anyone authenticating through your Google Workspace domain automatically joins your organization – no invite codes, no admin approval.
The Team Rollout playbook is the guide for this phase. It has a copy-pasteable onboarding block for Slack, a per-service enablement checklist (AWS, EKS, CodeCommit, CodeArtifact, and more), when to adopt SCIM (15+ people), and offboarding.
What happens when you login
When you run vouch login, the following takes place behind the scenes:
- FIDO2 assertion – The CLI asks your YubiKey to sign a challenge from the Vouch server. This proves possession of the enrolled key and requires both your PIN and a physical touch.
- Identity verification – The server validates the signed assertion against the public key stored during enrollment.
- Credential issuance – On success, the server issues a session token and an SSH certificate signed by the Vouch CA, valid for 8 hours.
- On-demand credentials – AWS, Git, Docker, Cargo, and other credentials are obtained on-demand by their respective credential helpers when you use those tools. Each helper exchanges your active session for a short-lived, service-specific credential.
- Local caching – The CLI stores the session and SSH certificate in memory (via the Vouch agent) so subsequent commands can use them without additional YubiKey interaction.
Because every credential is short-lived and bound to a hardware key, there are no long-lived secrets on disk that can be stolen or leaked.
Related guides
- AWS Integration – Federate into AWS with OIDC for temporary STS credentials.
- SSH Certificates – Connect to servers using short-lived SSH certificates.
- GitHub Integration – Access private repositories with short-lived tokens.
- Security Model – How Vouch protects credentials at every layer.
- FAQ – Common questions about supported hardware, session behavior, and platform support.