Replace SSH Keys with Short-Lived Certificates
Configure SSH servers to trust Vouch certificates for passwordless authentication
Windows: SSH certificate integration is not available on Windows. See the FAQ for details on Windows platform support.
Vouch replaces static SSH keys with short-lived certificates. Administrators trust a single certificate authority (CA) key, and developers receive SSH certificates that expire after 8 hours. There is no key distribution, no authorized_keys sprawl, and no offboarding checklist.
TL;DR
- Prerequisites: Getting Started → this page.
- Admin, once: configure each SSH server to trust the Vouch CA public key.
- Each developer:
vouch setup ssh, thenssh user@serverjust works.
Step 1 – Set up the CLI (for developers)
Developer taskEnable the SSH agent integration:
vouch setup ssh
This command configures your local SSH client to use the Vouch agent for certificate authentication. It adds the following to your ~/.ssh/config:
Host *
  IdentityAgent /run/user/1000/vouch/ssh-agent.sock
The socket path is resolved for your platform: $XDG_RUNTIME_DIR/vouch/ssh-agent.sock on Linux, falling back to ~/.cache/vouch/ssh-agent.sock where XDG_RUNTIME_DIR is unset (e.g. on macOS).
After setup, every ssh connection will automatically use your Vouch certificate when available, falling back to regular keys if needed.
Verify the agent is running
vouch status
Look for the SSH agent line in the output. If the agent is not running, vouch login will start it automatically.
Check your certificate
After logging in, inspect the current certificate:
vouch credential ssh
This obtains a certificate from the server and displays the certificate’s principals, validity period, and signing CA.
Step 2 – Configure SSH servers (for administrators)
Admin taskTo accept Vouch certificates, each server must trust the Vouch CA public key.
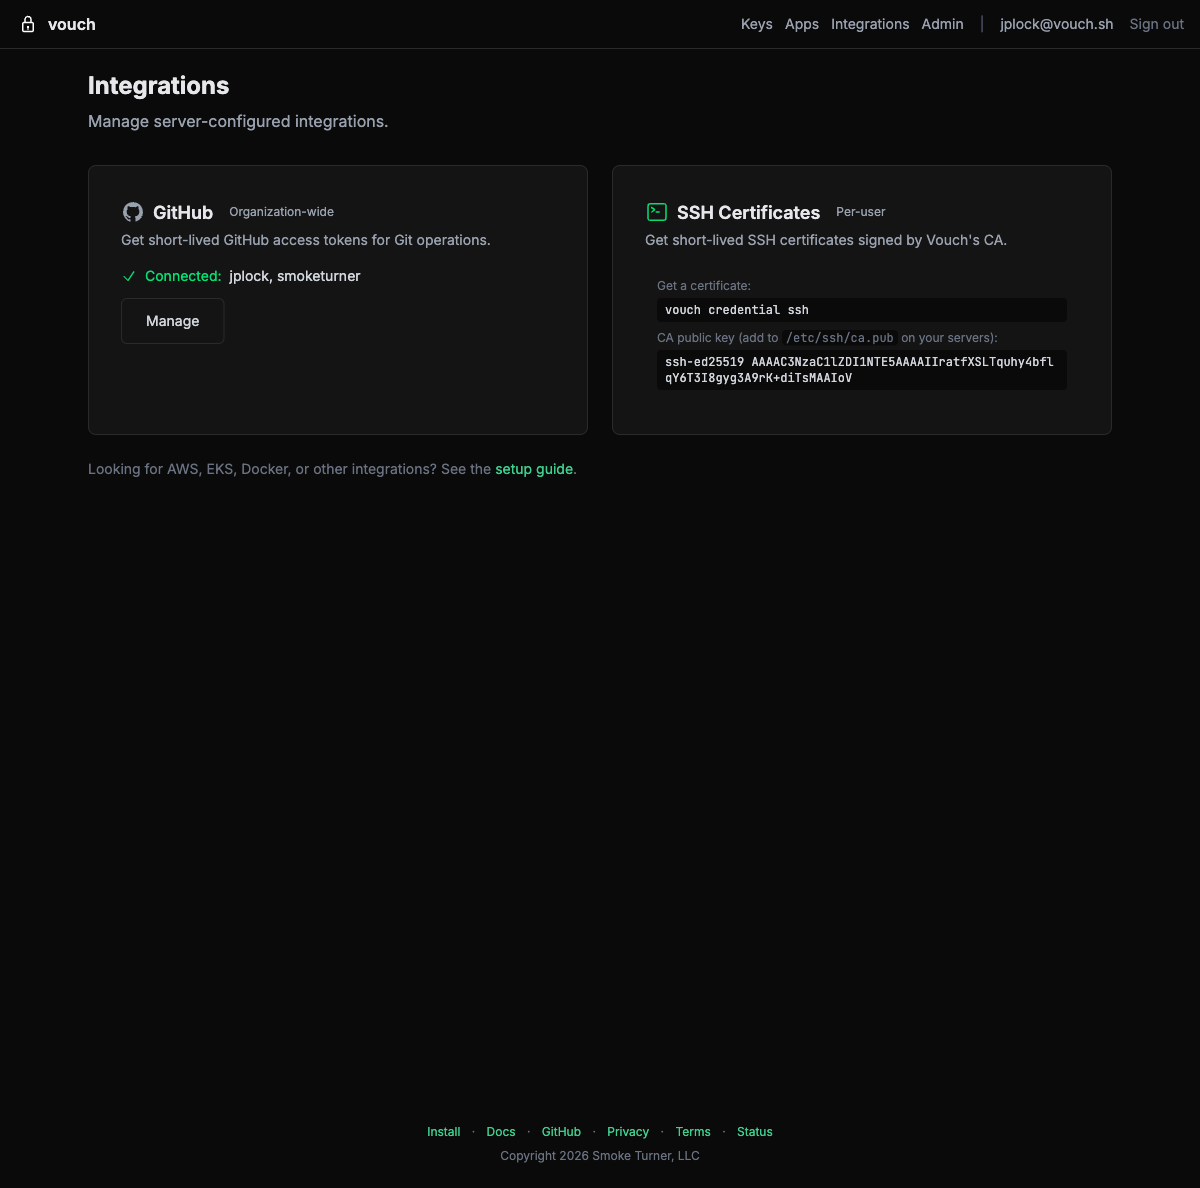
You can find the CA public key on the Integrations page of the Vouch dashboard:
Fetch the CA public key
Or retrieve it programmatically from the Vouch server:
curl -s https://us.vouch.sh/v1/credentials/ssh/ca | jq -r '.public_key'
Save the output – you will need it for each method below.
On each server, add the CA public key and create a drop-in sshd configuration file:
# Write the CA public key
echo "CONTENTS_OF_CA_PUB" | sudo tee /etc/ssh/vouch_ca.pub

# Configure sshd to trust the CA (drop-in config)
# See: https://man.openbsd.org/sshd_config#TrustedUserCAKeys
# See: https://man.openbsd.org/sshd_config#AuthorizedPrincipalsFile
sudo tee /etc/ssh/sshd_config.d/99-vouch.conf <<'SSHD'
TrustedUserCAKeys /etc/ssh/vouch_ca.pub
AuthorizedPrincipalsFile /etc/ssh/auth_principals/%u
SSHD

# Create a principals file for a specific user
sudo mkdir -p /etc/ssh/auth_principals
echo "alice@example.com" | sudo tee /etc/ssh/auth_principals/alice

# Restart sshd
sudo systemctl restart sshd
- name: Configure Vouch SSH CA trust
  hosts: all
  become: true
  vars:
    vouch_ca_pub: "{{ (lookup('url', 'https://us.vouch.sh/v1/credentials/ssh/ca') | from_json).public_key }}"

  tasks:
    - name: Write Vouch CA public key
      copy:
        content: "{{ vouch_ca_pub }}"
        dest: /etc/ssh/vouch_ca.pub
        owner: root
        group: root
        mode: "0644"

    - name: Configure sshd to trust Vouch CA
      copy:
        content: |
          TrustedUserCAKeys /etc/ssh/vouch_ca.pub
          AuthorizedPrincipalsFile /etc/ssh/auth_principals/%u
        dest: /etc/ssh/sshd_config.d/99-vouch.conf
        owner: root
        group: root
        mode: "0644"
      notify: restart sshd

    - name: Create auth_principals directory
      file:
        path: /etc/ssh/auth_principals
        state: directory
        owner: root
        group: root
        mode: "0755"

  handlers:
    - name: restart sshd
      service:
        name: sshd
        state: restarted
resource "aws_instance" "example" {
  ami           = "ami-0abcdef1234567890"
  instance_type = "t3.micro"

  user_data = <<-EOF
    #!/bin/bash
    set -e

    # Fetch and install the Vouch CA public key
    curl -s https://us.vouch.sh/v1/credentials/ssh/ca \
      | jq -r '.public_key' | tee /etc/ssh/vouch_ca.pub

    # Configure sshd to trust the CA (drop-in config)
    cat > /etc/ssh/sshd_config.d/99-vouch.conf <<'SSHD'
    TrustedUserCAKeys /etc/ssh/vouch_ca.pub
    AuthorizedPrincipalsFile /etc/ssh/auth_principals/%u
    SSHD

    mkdir -p /etc/ssh/auth_principals

    systemctl restart sshd
  EOF

  tags = {
    Name = "vouch-ssh-example"
  }
}
Tip: understanding principals
Admin taskVouch certificates include two principals by default:
| Principal | Example | Use case |
|---|---|---|
| Email address | alice@example.com | Unique per-user access control |
| Username | alice | Matches standard Unix usernames |
When configuring AuthorizedPrincipalsFile, you can list either the email or the username (or both) in the principals file for each Unix account.
Example: To allow both alice@example.com and bob@example.com to SSH as the deploy user:
sudo mkdir -p /etc/ssh/auth_principals
printf "alice@example.com\nbob@example.com\n" | sudo tee /etc/ssh/auth_principals/deploy
If you do not configure AuthorizedPrincipalsFile, OpenSSH will accept any certificate signed by the trusted CA. This is convenient for testing but is not recommended for production.
Step 3 – Test the connection
Developer taskNot logged in yet? Run vouch login — one YubiKey tap starts an 8-hour session that every command below uses automatically.
From a developer machine:
# Log in if you have not already
vouch login

# Connect to a configured server
ssh alice@server.example.com
The connection should succeed without prompting for a password or key passphrase. To verify that certificate authentication was used, check the server’s auth log:
# On the server
sudo grep "Accepted certificate" /var/log/auth.log
You should see an entry like:
Accepted publickey for alice from 192.168.1.100 port 54321 ssh2: ED25519-CERT SHA256:... ID "alice@example.com" serial 42 CA ED25519 SHA256:...
How it works
- During
vouch login, the Vouch server signs the developer’s ephemeral public key with an Ed25519 CA key. - The resulting SSH certificate is valid for 8 hours and contains the developer’s email address and username as principals. It is cached by the local Vouch SSH agent for its lifetime, so subsequent
sshconnections reuse it without contacting the Vouch server. - When the developer connects to a server, the SSH client presents the certificate.
- The server verifies the certificate was signed by the trusted CA and that one of the certificate’s principals matches an allowed user.
- The connection is established without any
authorized_keyslookup.
Troubleshooting
“Permission denied (publickey)”
- Confirm you have an active Vouch session: run
vouch status. - Verify the Vouch agent is running and
~/.ssh/configincludes theIdentityAgentline. - Check that the server has
TrustedUserCAKeyspointing to the correct CA public key. - If using
AuthorizedPrincipalsFile, verify that the file for the target user contains one of the certificate’s principals (email or username).
“Certificate has expired”
- SSH certificates issued by Vouch are valid for 8 hours. Run
vouch loginto get a fresh certificate.
Agent not found
- Run
vouch loginto start the agent, or restart it withvouch setup ssh. - Verify the socket exists at the path your SSH config points to:
grep IdentityAgent ~/.ssh/config, thenls -lathat path ($XDG_RUNTIME_DIR/vouch/ssh-agent.sock, or~/.cache/vouch/ssh-agent.sockon macOS).
Server rejects the certificate even though it was signed by the right CA
- Check
AuthorizedPrincipalsFilepermissions. The file and its parent directory must be owned by root and not writable by group or others. - Ensure the principals file is in the correct location (
/etc/ssh/auth_principals/<username>). - Review
/var/log/auth.log(or/var/log/secureon RHEL-based systems) for detailed error messages.
Connection falls back to password authentication
- The server may not have
TrustedUserCAKeysconfigured, orsshdmay not have been restarted after the configuration change. - Run
ssh -v user@serverto see which authentication methods are attempted. Look forOffering public key: ... ED25519-CERTin the debug output.
IDE Remote Development
Because Vouch configures ~/.ssh/config with its agent, tools that build on top of SSH work automatically:
- VS Code Remote-SSH – Open remote folders and terminals on any server trusted by the Vouch CA. No additional extension configuration is needed.
- JetBrains Gateway – Connect to remote development environments using the same SSH certificate.
- scp / rsync / sftp – File transfers use the Vouch SSH agent transparently.
As long as the Vouch agent is running and you have an active session, any tool that uses the system SSH client will authenticate with your Vouch certificate.
Related guides
- Getting Started – Install the CLI and enroll your YubiKey.
- AWS Integration – Federate into AWS with OIDC for temporary STS credentials.
- Amazon EKS – Authenticate to Kubernetes clusters running on EKS.
- Security Model – How Vouch protects credentials at every layer.